In virtualized environments it is common to install software from mounted ISOs, however with SharePoint Designer (2013 and 2010) Microsoft provides only self-contained executables, such as from their public download site: http://www.microsoft.com/en-us/download/details.aspx?id=35491 (This is the link to the 2013 RTM release, not the preview versions)
I will give you the steps I use to create my own ISO from these executables. In brief, the steps are to download the EXE from the site above, make a folder and extract the files to the folder, then create the ISO from the extracted files. The details are below.
You might be thinking that it would be easier to skip the extraction steps and just burn the EXE to the ISO. This would work, however I prefer to see all the extracted files from the mounted image, and I also like the autoplay options. (Automatic launching of autoplay has been turned off for security reasons, but you can still manually launch it by right-clicking on the virtual drive in the VM.)
(1) Download the executable files. Simple enough.
(2) Create a new folder which will temporarily hold the extracted files.
(3) Open a command prompt, and extract the files using the /extract option as shown below, using the folder you created.

Tip: The /extract parameter is common to many Microsoft executable downloads, such as hotfixes. To see all available options, use /?. For super large downloads, such as cumulative updates for SharePoint which include all languages, it can take a while for the /? dialog to open.
Also, since the extract option requires the path to come directly after the colon (no spaces), the path autocomplete feature will not normally work. What I do instead is initially type a space after the colon, then use autocomplete to get the proper path, then arrow back and remove the space, and press enter. You don’t need to be at the end of the line to press enter.
If all works well you will see

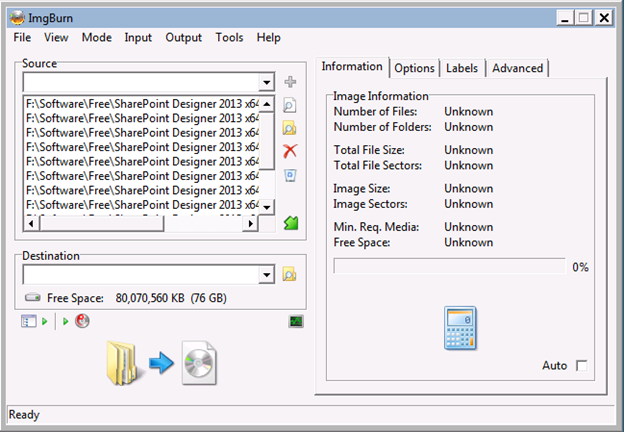
(4) Open your utility of choice for making an ISO. For packaging files into an ISO, I use the ImgBurn utility available at http://www.imgburn.com/
(5) From the home screen, choose to create an ISO from files

(6) Open the extract folder so you can see all the extracted files, select all and drag to the ImgBurn source window.
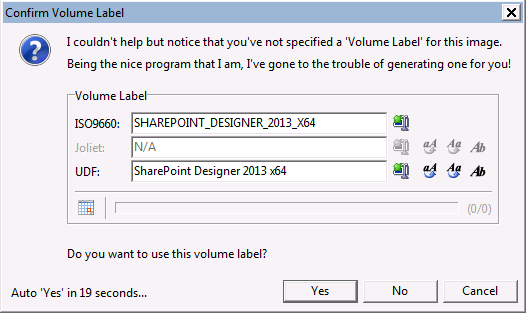
(7) Click the big button with the blue arrow and provide the location and name of the ISO file you want to make. I use the same name as the downloaded executable for consistency. After you select the name, you will be prompted to provide volume labels. Click Yes, and a couple simple confirmations later you will have your new ISO, ready to mount on your virtual machines.